EC-Cube 4.0.5 → 4.0.6p2へのバージョンアップを試みる
プラグインを利用してアップデートを行う。
参考ページ)
https://www.ec-cube.net/products/detail.php?product_id=2277
(1)事前準備
アップデートを実行する前に、以下の設定をご確認ください。
・xdebugが有効になっている→xdebugを無効にする
・memory_limitが128M→memory_limitを512Mに設定
・max_execution_timeが30→max_execution_timeを180に設定
今回のアップデート対象サーバでは、上記全てクリアしており、特に作業は不要だった。
(2)データのバックアップを取る。
フォルダ丸ごとコピーをとり、データベースはエクスポートしてバックアップ。
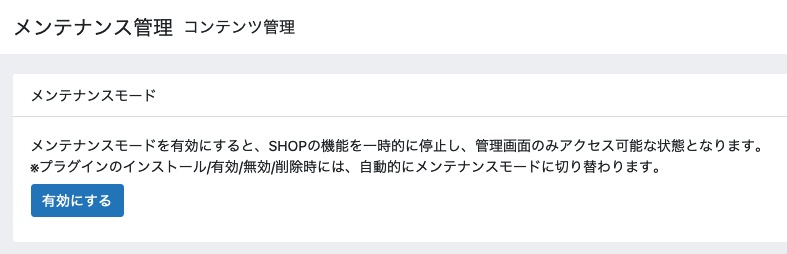
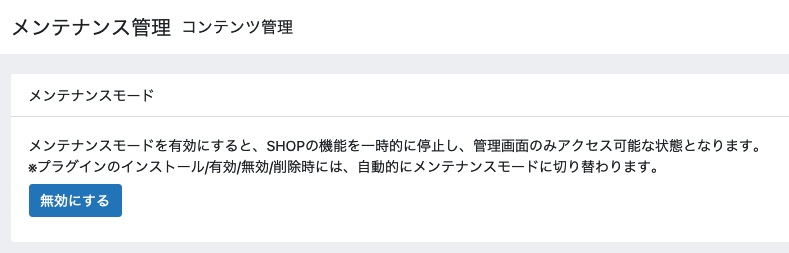
(3)EC-Cubeをメンテナンスモードにする。
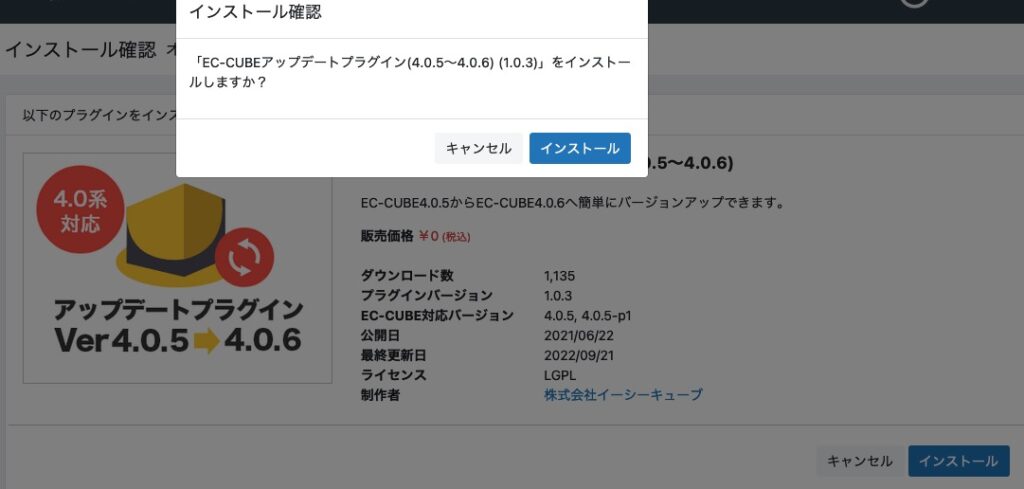
(4)EC-CUBEアップデートプラグイン(4.0.5〜4.0.6)をインストール

(5)プラグイン有効化

再生ボタンのようなものをクリック。
(6)プラグインの設定を開く

歯車をクリック
(7)プラグインの対応状況の確認
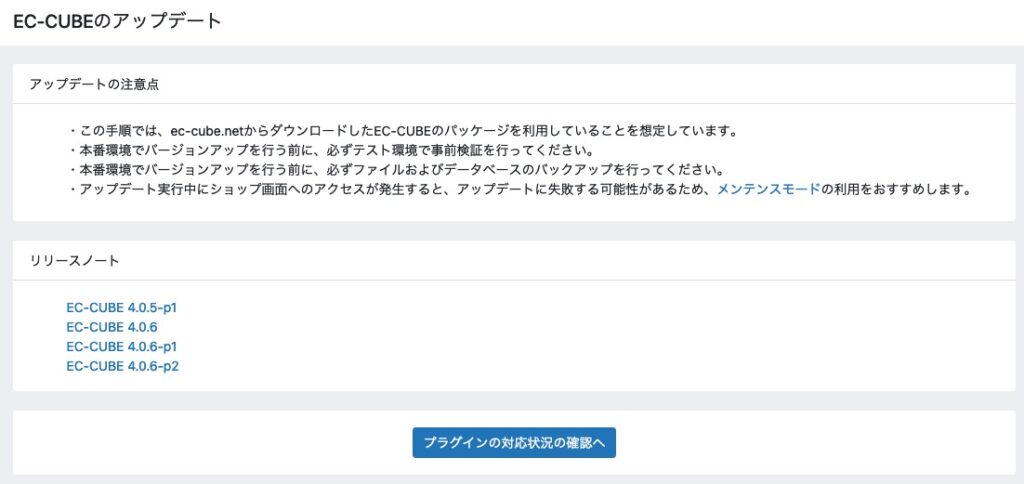
(8)書込権限の確認

(9)ファイル更新の確認へ

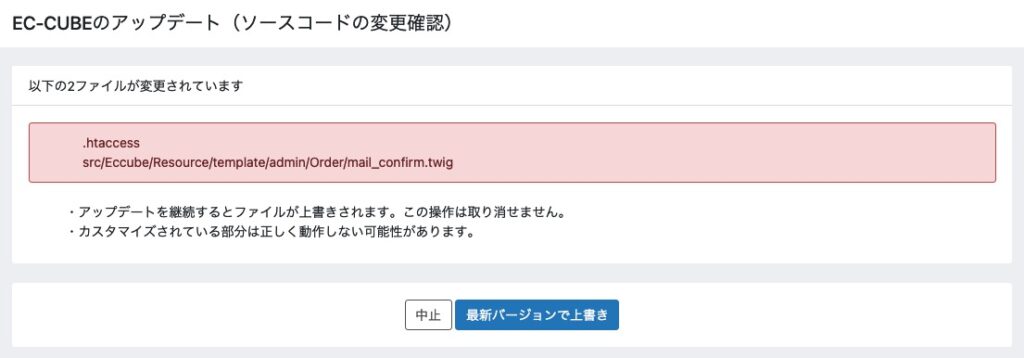
ソースをカスタマイズしている場合には、アップデートで変更内容が消えてしまうため、警告してくれているものと思う。親切。
後でバックアップとの差分を見て、必要であれば、上書き後に反映すれば良い。
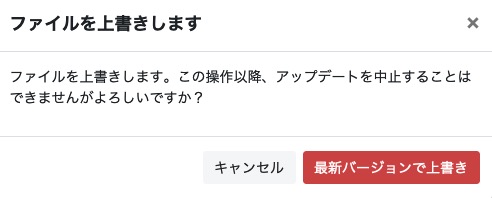
(10)最新バージョンで上書き
(11)エラー発生の対応
システムエラーが発生してしまった。
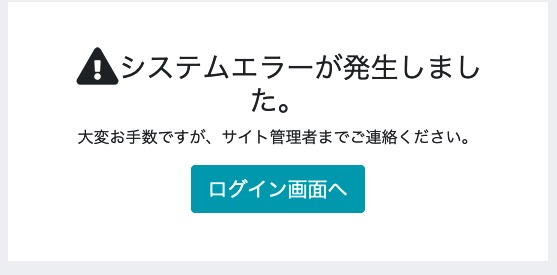
原因が全くわからない。
php.iniでPHPのエラー表示をONにすると・・・。
Warning: include(<PATH>/vendor/composer/../../app/proxy/entity/src/Eccube/Entity/Product.php): failed to open stream: No such file or directory in <PATH>/vendor/composer/ClassLoader.php on line 444Product.phpがないとのこと。
ディレクトリを調べるとたしかになかった。なくなっていた。
よって、バックアップからapp/proxy/entity/src/Eccube/Entity/Product.phpをコピーする。
エラー発生しなくなった。
参考ページ)
https://xoops.ec-cube.net/modules/newbb/viewtopic.php?topic_id=27424&forum=11&post_id=108747
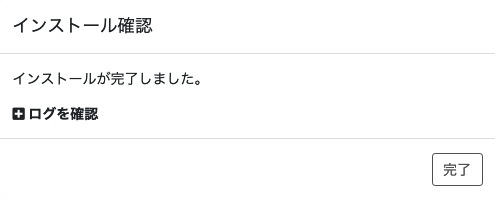
(12)アップデート完了
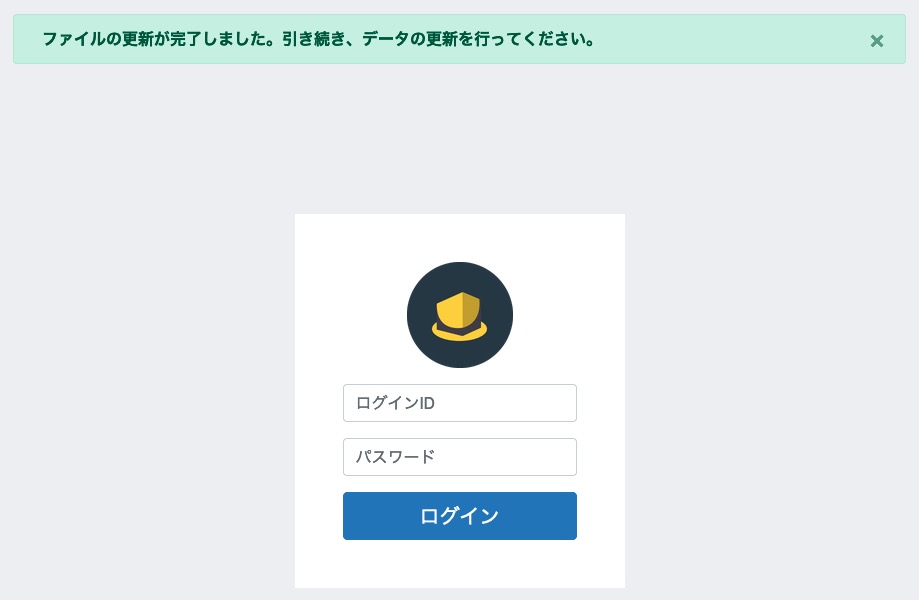
ログイン画面へアクセスすると、「ファイルの更新が完了しました。引き続き、データの更新を行ってください。」とのメッセージ。
これでアップデートが完了した。

(13)メンテナンスモード無効化
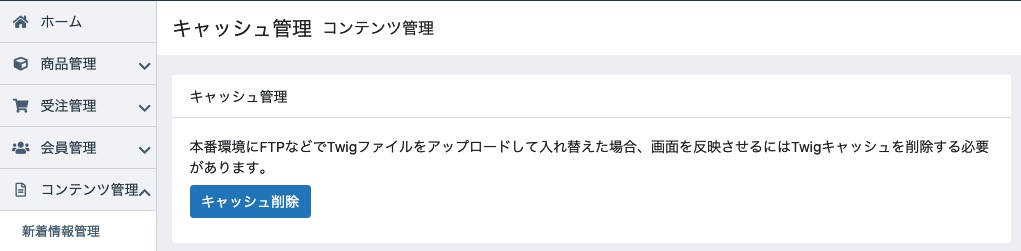
(14)キャッシュ削除
これは念の為。